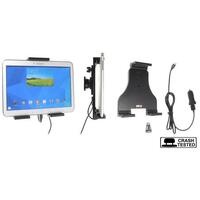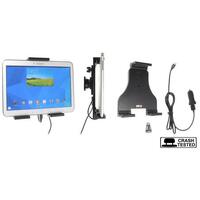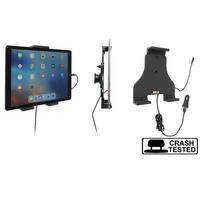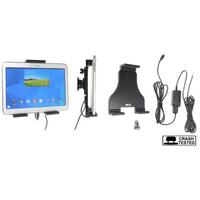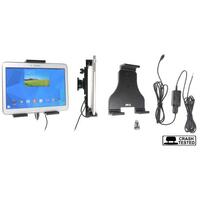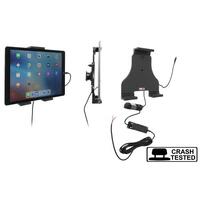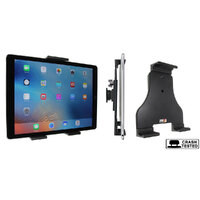
Stud Lock Non Charging Adjustable Holder
Adjustable Width 240 to 270mm & Height 160 to 185mm
THE HOLDER
- Attach to our range of Bars, Headrests, Forklifts, Pedestals or Heavy Duty Suction Mounts to hold your device firmly & securely.
- Easy one-hand docking and removal.
- Comms ports, camera, and scanner buttons are accessible while docked.
FIRM & SECURE FIT
- Customised design to firmly fit your tablet without a case.
DESIGNED TO BE USED WITHOUT A CASE
- Sliding adjustable top and critical locking side. Width 240 to 270mm & Height 160 to 185mm.
- Measure the weight and height of the device. BEFORE ORDERING.
BUILT-IN SPRING STUD LOCK
- Great for off-road and trucks.
- Suitable for retail stores and exhibitions where security is essential.
- The AMPS Pattern Mount Plate on the holder can easily attach to our Pedestal Mounts, Headrest Mounts, Bar Mounts, Forklift Mounts or form part of your solution.
LANDSCAPE TO PORTRAIT
- All ClicOn holders come with a tilt swivel that can rotate 360° and tilt the holder 17° in any direction for optimal viewing and avoiding light reflection.
- Firm & Secure Fit
- Built-in Spring Stud Lock
- AMPS Pattern Mount Holes
- Landscape to Portrait Viewing
| This Holder Fits | Devices between Width 240 to 270 mm, Height 160 to 185mm. |
| SKU | 541855 |
| Barcode # | 7320285418554 |
| Brand | ClicOn |
| Shipping Weight | 0.2990kg |
Below you will find the installation instructions for the Stud Lock Non Charging Adjustable Holder (SKU:541855), you can click on the images to open a larger version in a new tab

Step 1
1. Adjust the holder to fit your device: Loosen the screws on the front side of the holder, as well as the screw on the adjustable arm. Pull the flexible sides apart until you reach maximum width, and pull out the adjustable arm. Slide your device sideways into the holder. Press the sides together so the device is firmly in place.

Step 2
2. Press the locking block on the adjustable arm toward the device. Remove the locking block carefully, keeping the flexible component in the set position. Remove the machine carefully, keeping the sides precisely in a fixed place. Fixate the size of the holder by tightening the screws on the front of the holder and the screw on the adjustable arm.

Step 3
3. Install the holder: Loosen the screw in the centre of the holder so you can remove the tilt swivel attaching plate on the back. Place the attaching container in the desired position. Screw the attaching plate into place with the enclosed screws. Place the holder over the attaching plate so the screw fits in the hole in the tilt swivel. Tighten the screw until the holder is firmly in place, but it can still be adjusted.
Our Price

One Year Warranty

Free Shipping Over $110.00

30 Days Return Policy

Australian Owned & Operated


