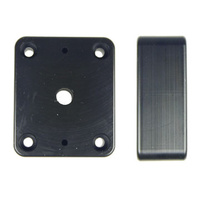
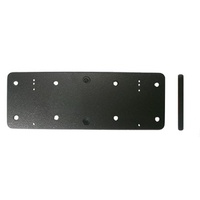
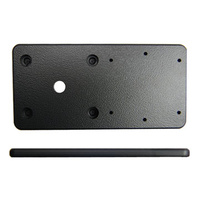
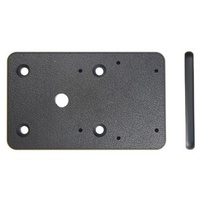
Console Mount
With Pre-Drilled AMPS Pattern Holes
SKU:634533


THE HOLDER
FIRM & SECURE FIT
COMPATIBLE WITH APPLE LIGHTNING CABLE
DESIGNED TO BE USED WITH STANDARD SKINS OR COVERS
AMPS PATTERN MOUNT HOLES
LANDSCAPE TO PORTRAIT
| This Fits | Apple iPhone 5/5C/5S |
| SKU | 514423 |
| Barcode # | 7320285144231 |
| Brand | ClicOn |
Below you will find the installation instructions for the Adjustable Holder with Cable Connect (SKU:514423), you can click on the images to open a larger version in a new tab
1. Place the cable's connector in the hole in the lower part of the holder. Carefully press the connector downward and forward, so it passes the locking and goes into the hole. Press until you hear/feel the connector snap into place in the holder. Loosen the screw in the centre of the holder to remove the tilt swivel attaching plate on the back.
2. Place the attaching plate in the desired position. Screw the attaching plate into place with the enclosed screws. Place the holder over the attaching plate, so the screw fits in the hole in the tilt swivel. Tighten the screw firmly at first, then loosen it a bit, so the holder is firmly in place but still can be adjusted.
3. To place the device in the holder: Place the upper part of the device in the upper part of the holder and press it upward, so the top part of the holder slides upward. Press the lower part of the device forward into the holder. When the device is placed straight over the connector in the holder, take the device straight downward, so the connector is connected. Carefully press straight down on top of the device until you hear/feel it snaps into place. To remove the device from the holder: Press the device straight upward, so the top part of the holder slides upward. When the device is set free from the connector, pull the lower part of the device toward you and slide the device downward out of the holder.
4. The holder is in place.


Zebra VS70
Zebra VS40
Zebra VS20
Zebra FS70
Zebra FS40
Zebra FS20
$59.90